Mickey Ears – you can find them everywhere at both Walt Disney World and Disneyland. They are a fashion statement on everyone from babies to seniors. Some people, including myself, even have a small collection of ears to suit every occasion. Everyone has a desire to look like Mickey Mouse but what do people do who don’t want to blend in with the crowd?
Show your Disney style by making your own Mickey ears. This is an easy craft with options for people that are super handy with a sewing machine and those who are close friends of the glue gun. It’s a perfect craft idea for crafty tweens and teens too as you can make a pair of Mickey ears in less than 30 minutes.
DIY Mickey Mouse Ears
Materials:
| Headbands {thicker ones work best} | Cotton Balls |
| Ribbon | Glue Gun |
| Cardboard | Sewing Machine {optional} |
| Fabric of choice {enough to cover the ears} |
Step 1:
Start by tracing 2 equally sized circles onto your cardboard. Officially the ratio of the ears to Mickey’s head is 3:5 (a 3” diameter ear matches a 5” diameter head) but you can draw freehand the size of ears that you wish. Line up the ears with the headband and cut off the bottom of the ears to match the curve of the headband so you can attach them in your final step.
Step 2:
Cut out your material for the ears slightly bigger than the size of the cardboard. Sew or glue the material with right sides together, leaving the bottom open to slide the cardboard in. Flip the material so the right side is showing and slide your cardboard in. Ears have a bit of cushioning to them so take your cotton balls, shred them thin, and stuff them on both sides of the ears to add the cushioning. Glue or hand sew the rest of the ears together.
Step 3:
Next, wrap your headband with ribbon in a coordinating color to match your ears. Use your hot glue gun to glue the ears to the headband and your ears are complete.
Step 4:
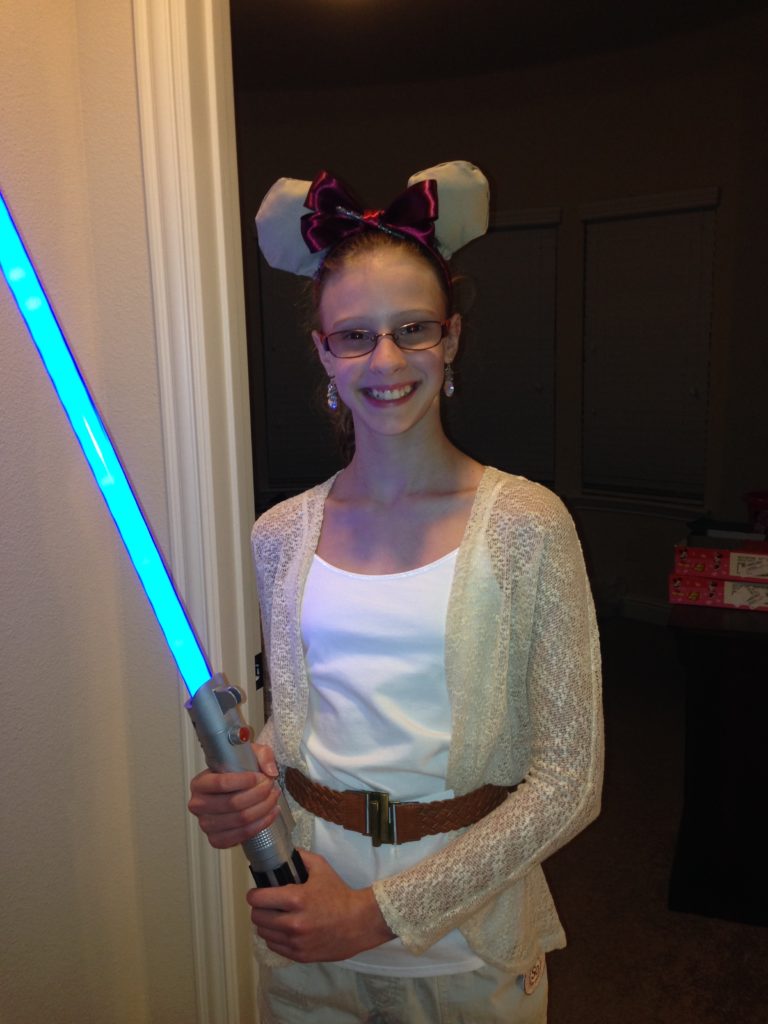
Looking to turn your Mickey ears into Minnie ears? Add a bow in the middle to match your custom theme. Many local stores carry Disney themed bows already made, or take your ribbon and turn it into a bow by gluing together one larger loop, the width of your desired bow, and then wrap and glue a thinner piece of ribbon around the middle of the larger loop to complete the bow. Optionally, add decorations to the middle of the bow or the ears themselves.
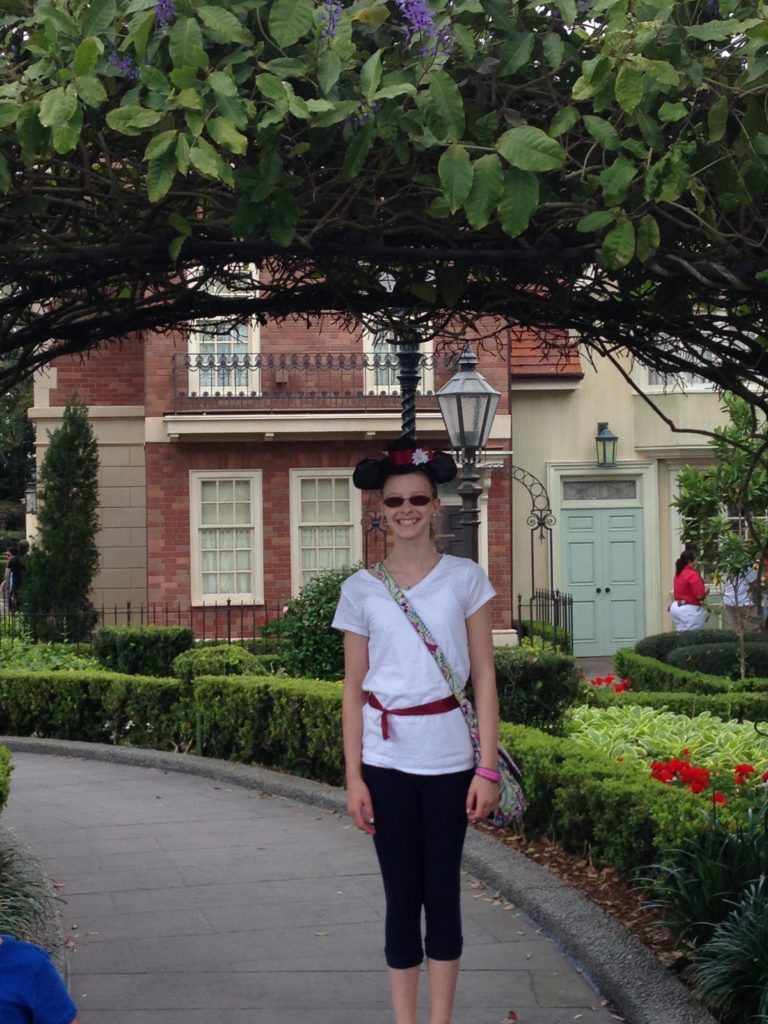
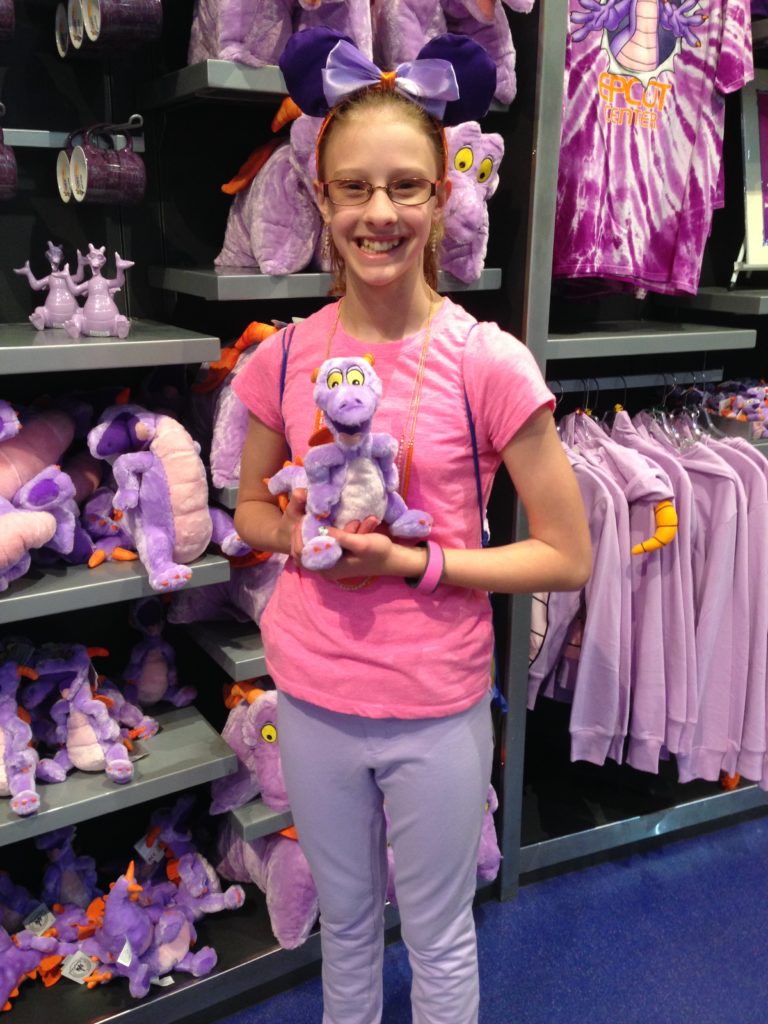
Custom Mickey and Minnie ears are a great memory of a Disney vacation. Be sure to tag Me and the Mouse Travel on your Facebook page with your ears so we can see you show your very own Disney style! For more ideas, take a look at the pictures below and visit our DIY Mouse Ears Pinterest board.